
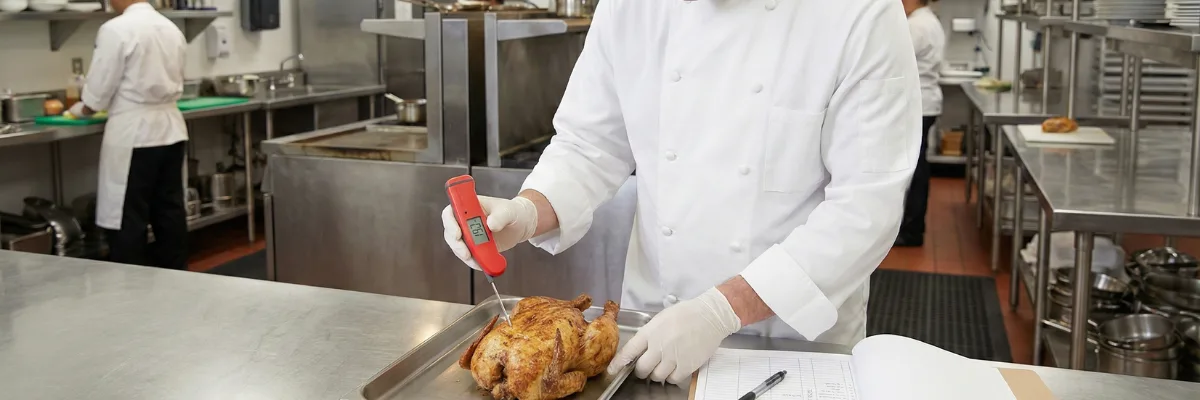
In the high-pressure environment of a commercial kitchen, a digital thermometer is not just a tool; it is your primary biological sensor. While a Chef’s knife handles the physical preparation, the digital probe manages the microscopic reality of food safety. Without a calibrated digital probe, you are effectively flying blind against pathogens that cannot be seen, smelled, or tasted.
Whether you are verifying the 75°C core temperature of a poultry breast to ensure the destruction of Salmonella or monitoring the delicate 5°C threshold of a walk-in fridge to inhibit Listeria monocytogenes, accuracy is the only thing standing between professional excellence and a catastrophic outbreak. In this technical review, we evaluate the industry’s leading thermal probes through the lens of forensic auditing and operational durability.
The Mathematical Reality of 75°C
To understand why we review digital thermometers so rigorously, we must look at the microbiology of the “Danger Zone.” Bacteria like Escherichia coli and Campylobacter thrive between 5°C and 63°C. The standard industry target of 75°C for 30 seconds is designed to achieve a 6-log reduction in pathogens. This means that for every 1,000,000 bacteria present, only 1 survives.
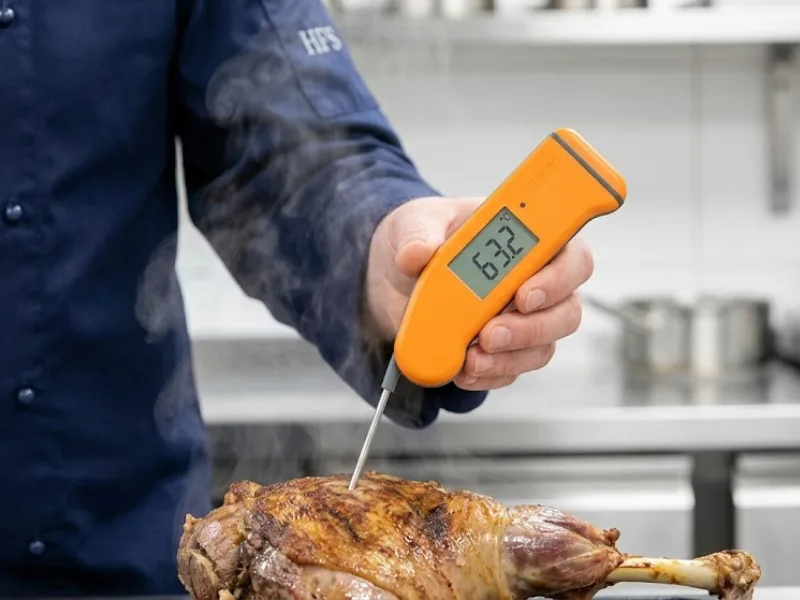
Technical Insight: Thermal Lag
Cheap, uncalibrated thermometers suffer from “Thermal Lag”—the time it takes for the sensor to reach the actual temperature of the food. In a fast-moving service, a 10-second lag can lead a Chef to pull a product off the heat prematurely, leaving a cold core where Salmonella remains viable. Our reviews prioritize probes with a sub-3-second response time to eliminate this risk.
Furthermore, we must consider the psychrotrophic nature of Listeria monocytogenes. Unlike most pathogens, Listeria can continue to multiply at refrigeration temperatures. If your digital probe has a variance of even ±1°C and your fridge is set to 4°C, you may unknowingly be storing food at 5°C, entering the lower bound of the growth phase. Forensic precision in your equipment is the only way to verify that your cold chain is legally and biologically secure.
The HFS Tested Toolkit
Forensic Hardware Audit • 2026 Standards
Thermapen® ONE
The undisputed king of the professional line. Its sub-second response time is its primary safety feature.
- Speed 1.0 Second Reading
- Accuracy ±0.3°C (±0.5°F)
- Durability IP67 Waterproof
- Audit-Ready NIST Calibration Certificate

Comark C22
A heavy-duty workhorse designed for high-volume catering and industrial production.
- Speed 3.0 Second Reading
- Versatility Lumberg Interchangeable Probes
- Antimicrobial BioCote® Surface Protection
- Battery Life 10,000 Hours
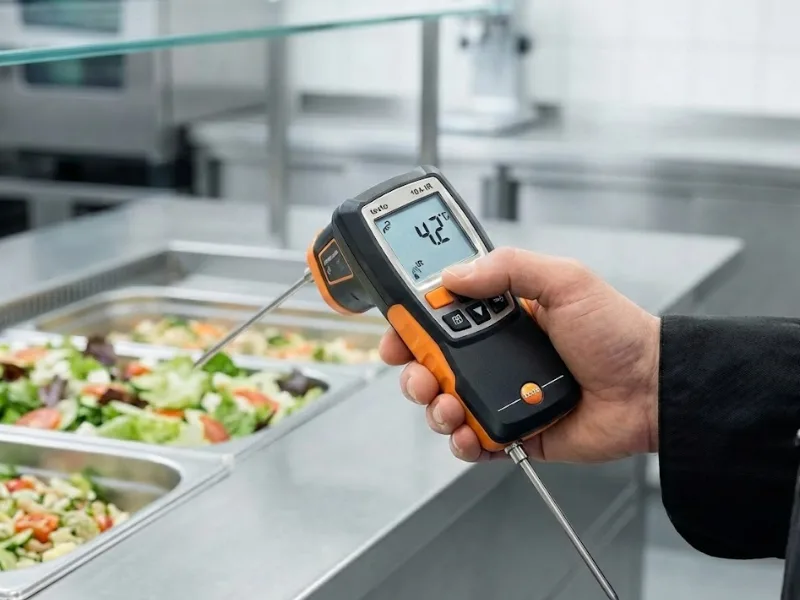
Testo 104-IR
The hybrid specialist. Combines 2-point laser IR for surfaces with a precise folding probe for core verification.
- Dual Mode Infrared + Penetration Probe
- Compliance EN 13485 & HACCP Certified
- Safety Feature Folding pocket-safe sensor
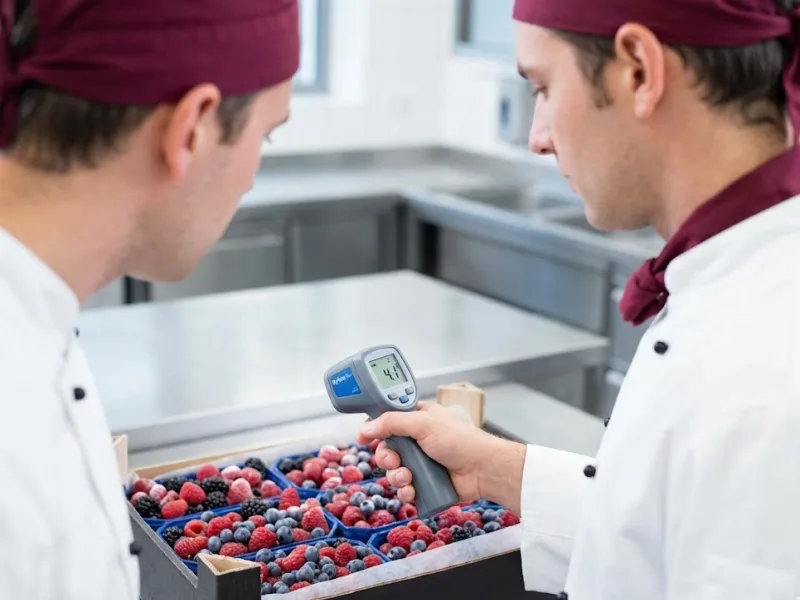
RayTemp® Blue
Perfect for delivery check-ins where non-contact surface temps and automated logging are required.
- Connectivity Bluetooth Data Logging
- Accuracy ±1°C (IR) / ±0.4°C (Probe)
- Logic Real-time HFS Cloud Sync
DPP400W
The entry-level professional probe. Rugged enough for the daily brigade at a lower price point.
- Utility Pocket Clip / Protective Sheath
- Durability Waterproof & Antimicrobial
- Calibration Self-Calibrating Field Button
Verification: The Forensic Standard
Procuring high-end hardware is merely the baseline. To satisfy Environmental Health Officers (EHO) and the HFS Verification Standards, you must calibrate your devices weekly. Any probe subjected to physical shock or extreme steam can lose its thermal alignment, resulting in catastrophic false negatives during Salmonella or Clostridium perfringens checks.
Fill a sanitized vessel with crushed ice and add just enough cold water to saturate. Maximize surface area contact to ensure the water reaches exactly 0°C.
Insert the sensor into the center of the slurry. Ensure the probe tip does not contact the vessel walls. Stir gently until the reading achieves forensic stabilization.
A reading between -0.5°C and +0.5°C is acceptable. If the variance exceeds this threshold, the device must be removed from the line for professional servicing. Log all results in your HFS Calibration Ledger.